
You have a design you love. Maybe it is a watercolour illustration, a photo-real graphic, or a logo with a gradient that fades through half a dozen colours. Then someone asks which printing method you want, and the enthusiasm stalls, because it is not obvious which one will do your artwork justice.
For anything rich in colour or detail, one method comes up again and again. This is a plain-English look at what it does well, where it shines, and the moments another approach makes more sense, so you can brief your printer with confidence. Understanding the trade-offs upfront also helps you set a realistic budget and avoid paying for a technique your design does not actually need.
What DTG actually does
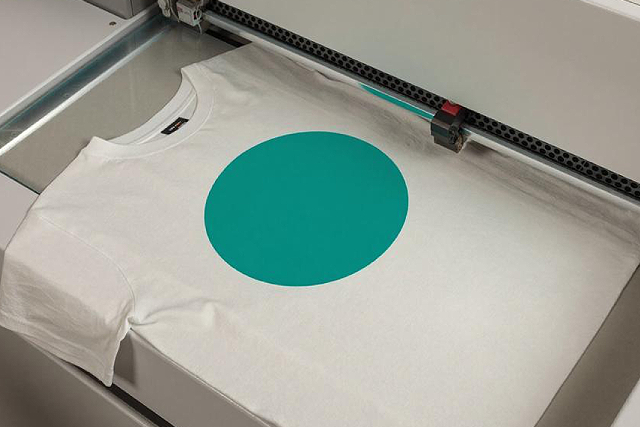
DTG stands for direct-to-garment, and it works much like an inkjet printer, except it prints onto fabric instead of paper. The design is laid straight onto the shirt using specialised textile inks, so fine detail, gradients, and photographic images come out crisp and accurate. There are no screens to burn and no colours to separate by hand, which keeps the process wonderfully direct.
This is why DTG printing has become the go-to for complex, multi-coloured artwork. Because there is very little setup, it is comfortable for small quantities and one-off pieces as much as for larger jobs, and it sits happiest on natural fabrics, with cotton the ideal partner. On the right garment, the finish is soft to the touch and the colours stay vibrant.
Where DTG shines
Some jobs are a natural fit. If your design ticks any of the points below, this is usually the method to reach for, and you will get a result that looks close to what you see on screen.
• Full-colour or photographic artwork, where the palette runs well beyond two or three flat colours.
• Fine detail and gradients that would be fiddly and costly to separate for screens.
• Small runs and single pieces, such as a birthday gift, a sample, or a prototype for approval.
• Designs that change from shirt to shirt, since each print can differ at no extra setup.
• Soft-feel results, because the ink sits into the fabric instead of forming a thick, heavy layer.
That flexibility is a big part of the appeal for individuals and small groups who want something special without ordering by the hundred. A single, richly coloured shirt is no harder to produce than a whole box of the same design, which opens the door to personalised gifts, one-off event pieces, and test prints you can hold before committing to a bigger run.
Where another method makes more sense
No single method wins every time, and the honest answer often points elsewhere. For a large batch carrying a bold logo in just one or two flat colours, silk screen printing, where ink is pushed through a stencil screen, tends to be more economical per shirt and gives a punchy, hard-wearing finish that suits big corporate and event runs.
When you need individual names and numbers, or just a handful of pieces in a hurry, heat transfer printing, which presses a ready-made design onto the garment with heat, is quick and flexible. For polos, jackets, and a premium corporate look, embroidery stitches the design in thread for a finish that feels considered and lasts for years. Many jobs even mix methods, such as an embroidered logo on the chest paired with a printed graphic on the back, and there is no rule that says you must pick only one.
The sensible way to choose is to weigh three things together: how many colours are in the design, how many shirts you need, and the fabric you are printing on. Get those clear, and the right method usually chooses itself without much agonising. If you are still torn, a quick message to your printer with a picture of the design and a rough quantity will get you a straight recommendation in minutes.
Getting your file right for full colour
Detail is only as good as the file behind it. For the sharpest result, supply high-resolution artwork, ideally at around 300 DPI at the final print size, in a format such as PNG, TIFF, PSD, or a vector file. A small image stretched to fill a chest will look pixelated no matter how good the printer is, so start big and scale down rather than the reverse.
Printing on dark garments is very doable, and it simply involves a white underbase laid down first so the colours stay vivid, so it helps to tell us the shirt colour when you send the design. A quick chat about your file before we start saves surprises later and keeps the whole job smooth. To help a full-colour print last, wash the shirt inside out on a cold, gentle cycle and let it air-dry, which keeps the colours bright wash after wash.
For small, quick jobs
Its light setup is also what makes this method a friend of the last-minute order, which is a big part of the story in our guide to same-day T-shirt printing in SG. When time is short and the design is detailed, printing straight onto the garment skips a lot of preparation and gets a finished shirt into your hands sooner.
Not sure? Just ask
Choosing a print method should not be the stressful part of making a great shirt. Send us your artwork, tell us how many you need and the garment you have in mind, and we will recommend the approach that brings your design to life at a price that makes sense. We would be happy to talk it through whenever you are ready, and there is no minimum order quantity to worry about if you only want a piece or two.
